


Insurance repair like factory not a cheap garage
Why we disassemble and prepare properly instead of masking factory look spectro color match and precise gap adjustment
Insurance repair like factory, not a “cheap garage”
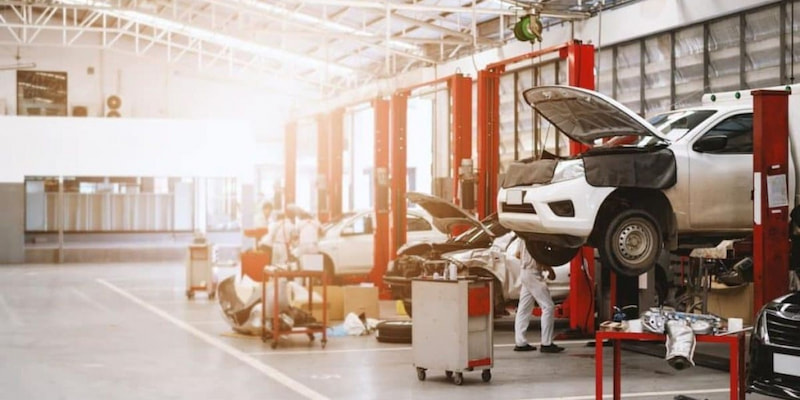
In insurance repairs, results come from method and discipline. Low-cost shops often “spray in place,” masking seals and trims to save time — quick and cheap, but after 3–6 months you get heavy orange peel, lacquer sinking on edges, wind noise and even early corrosion. At Mario Garage we disassemble and reassemble following OEM logic to restore factory look and durability. Here’s why our approach — remove and prepare — beats “mask and spray on the car”
Why our result looks factory
— Full removal of parts before paint, no wild masking
— Accurate damage mapping and inclusion of hidden damage for insurer approval
— Paint system matched to spec, not “whatever is on the shelf”
— Color match with spectrophotometer and test spray cards before application
— Application in a controlled booth for temperature, filtration and dust
— Geometry restoration instead of “pull the bumper until it fits”
— Reassembly with correct gap adjustment, torque specs and lubricants
— Measured finishing polish without burning edges plus paint thickness checks
What cheap garages do and why it breaks the result
— Tape over seals and trims instead of proper removal
— Paint in dusty boxes or outdoors — dust nibs and runs guaranteed
— Save on primer and hardener — clearcoat turns dull and sinks over time
— Eyeball color match — mismatch in sunlight and under parking lights
— No gap adjustment on reassembly — air whistle and rattles
— Aggressive polish — thinned clear and burned edges
— No ADAS calibration after bumper or glass replacement — safety risk ignored
Our insurance process step by step
1. Check-in and damage assessment
Full photo set, fault scan, gap measurement, damage map
Extend the insurer estimate with hidden damage and new hardware
2. Disassembly and preparation
Remove bumpers, lights, trims, handles, seals
Clean and degrease, straighten panels, repair mounting tabs
3. Paint system and color match
Epoxy or PU primer per substrate
Spectro formula with test plaques under D65 and parking light
Blend into adjacent panels when needed
4. Booth and application
Dust extraction, anti-static, tack-rag
Basecoat and clear per tech sheet with proper flash times
Controlled bake with pyrometer verification
5. Reassembly and adjustments
New clips and hardware, torque to spec
Adjust gaps on 8–12 points per panel, confirm soft closing with no push
Center the lights, check sealing and water tightness
6. ADAS and electronics
Calibrate radars and cameras after bumper, emblem or glass work
Reset adaptations when required, final scan for system health
7. Finish and quality control
Fine polish without thinning edges
Uniform film-thickness readings, before/after photos
5–10 minute road test — no wind noise, no rattles
Why remove and paint > mask and blow
— No clearcoat ridge along seal lines
— No paint on rubber or plastics, original elasticity and look preserved
— Even clear thickness that won’t chip at edges
— Paint wraps under edges for better sealing and corrosion resistance
— Panels align correctly — quiet cabin and no wind whistle
Real consequences of “cheap” after six months
— Clear turns dull, orange peel stands out
— Paint on seals cracks, edge corrosion starts
— Light unit “pulled” into place, gaps shift — wind noise and fogging
— Tone mismatch obvious in sunlight and under neon
— Reused clips vibrate — penny-wise decisions that cost later
Mini case
Peugeot 308, front-left impact, insurance job
Low-cost shop pulled the bumper, masked trims, tone mismatch between fender and lamp
Our fix — full disassembly, tab repair, new hardware, spectro color, blend on fender, gap adjustment, radar calibration. At 6 months — uniform texture, zero wind noise, perfect tone, thickness within spec
FAQ
How is your insurance repair different from “good and cheap”
Full disassembly, booth application, spectro color, new hardware, gap adjustment, ADAS calibration, thickness control — we correct causes, not hide symptoms
Do you always remove parts
Yes whenever OEM procedure allows. Limited masking only if removal would damage the part more and it’s documented
OEM, OES or aftermarket parts
OEM or OES after approval. Aftermarket only when quality is proven and the insurer agrees
What about timelines
Planned around part availability and any hidden work. Realistic dates at check-in with updates at each stage
Do you give a warranty
Yes on paint finish, fasteners, gap settings, absence of wind noise and leaks — covered in our warranty sheet
Handover checklist after an insurance repair
Compare left and right for gap width
Slide a plastic card through gaps — no snagging
Open and close door or tailgate — smooth, no hand-assist
Inspect seals — no paint haze, elastic and intact
Check lights — centered in their housings, bumper not “under tension”
Look at texture under raking light — even orange peel
Take a short road test — no wind whistle or parasitic vibrations
Why choose Mario Garage
Insurance repairs with full disassembly and OEM-grade procedures
Spectrophotometer color match and controlled-booth painting
Systematic gap adjustment and ADAS calibration after work
New clips and hardware — no parts “forced” into position
Cagnes-sur-Mer near Nice and Antibes — easy logistics and fast intake
Conclusion
A factory-grade insurance repair means disassembly, proper prep, booth application, adjustments and calibrations — not masking “on the car.” That’s how a car looks perfect today and stays that way over time. At Mario Garage you pick up a vehicle with no tone mismatch, no wind noise and no surprises — exactly what an insurance repair should deliver
Useful links
Headliner Restoration with Alcantara and Leather