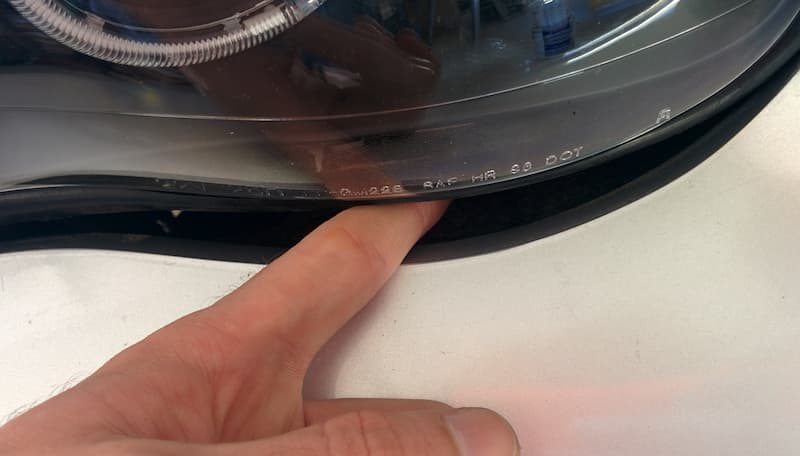
Body panel gaps and geometry after repair
Simple method to check body panel gaps, flush fit and alignment after repair

Body panel gaps and geometry after repair
Uneven gaps, “steps” between panels, and hard-to-close doors often indicate imperfect assembly. This isn’t just cosmetic: it creates wind noise at speed, rattles, premature seal wear, and can even trigger corrosion along edges. Picking up a car in this state is frustrating, and rework always costs more. Here’s a clear guide to accept a vehicle after bodywork without coming back for fixes.
Key signs of correct geometry and gaps
1. Even gaps all around
Gaps around the hood, doors, tailgate, and lights should keep a consistent width. Left and right should mirror each other. Simple rule: slide a rigid card along the gap — it shouldn’t snag.
2. Panels flush, with no steps
Joints like fender–door, hood–fender, bumper–fender must sit on the same plane. Any “step” or dip points to misadjustment or a bumper that’s been “pulled” to hide a mismatch.
3. Straight body lines under raking light
View style lines and long surfaces with side lighting. Waves, bulges, or broken lines mean panel flatness or geometry is compromised.
4. Easy opening and smooth latching
Doors, hood, and tailgate should close softly, without rebound or needing to “push.” If the slam is loud or the lid pops back, latch and hinge adjustments are required.
5. Lights centered in their housings
Headlamps and tail lights should sit centered with uniform gaps. The bumper must not be under tension; no open corners or distorted edges.
6. Clean edges and weather seals
No paint mist on rubber or plastics. A sharp “painted-on” line across a removable joint reveals masking without proper disassembly — a shortcut you shouldn’t accept.
7. Consistent clearcoat texture
Orange peel should not starkly differ from neighboring panels. Dust under clear or local runs call for a finishing polish or a localized refinish.
Why bad gaps and skewed geometry are risky
Wind whistle and cabin noises from disturbed airflow
Accelerated seal wear and potential water ingress
Panel edge rubbing and paint chips along seams
Lower resale value due to visible assembly defects
How to correctly accept the vehicle after bodywork
Walk around under raking side light
Waves and steps appear immediately, especially on long panelsCheck gaps with a rigid card
Run it top-to-bottom along door, hood, and tailgate edgesCompare left and right sides
Geometry must mirror — widths should match side to sideOpen and close every opening multiple times
Motion should be smooth, with no rebound and no need to pressInspect the fit of lights and bumpers
Uniform gaps all around, corners fully seated with no “open” edgesLook at edges and seals
No clearcoat on rubber, clips and covers properly reinstalledTake a short 5–10 minute road test
Listen for wind whistle, vibrations, pillar or door rattlesReview the work order
Stages listed: removal, straightening, primer, base, clear, reassembly, gap adjustments
When to ask for immediate corrections before paying
Gaps visibly different left vs right
A perceptible step or dip between two panels
Door, hood, or tailgate that needs force or “bounces” on closure
A headlamp or tail light sitting off-center in its housing
Paint traces on seals or plastic trims
FAQ
How long does a proper handover check take?
10–15 minutes are enough if you follow the checklist without rushing.
Should I ask for paint thickness measurements?
Yes, if you doubt the extent or uniformity of the refinish, a few measurement points make it objective.
Is a slight orange-peel difference critical?
A small variation can happen, a strong contrast is not acceptable. Finishing polish should harmonize the look.
What if the tailgate needs to be “helped” to latch?
Ask for latch and hinge adjustment. A healthy opening locks without extra force.
Should I come back after a few days?
Yes — at day 2–3 to confirm settings have settled and that no wind noises appeared.
Why choose Mario Garage
Precise gap adjustment on 8–12 control points per panel
Hinge, latch, and bumper setup using manufacturer procedures
Visual and tactile checks of flushness, verification of light unit seating
Short road test and raking-light inspection before handover
Cagnes-sur-Mer near Nice, Antibes, and Villeneuve-Loubet — fast drop-in reception
Conclusion
Correct gaps and preserved geometry aren’t just aesthetics — they’re cabin quietness, durability of the body, and a factory-clean look. Use this checklist at pickup, ask for on-the-spot adjustments when needed, and return after 2–3 days for a quick follow-up.
At Mario Garage (Cagnes-sur-Mer, Nice, Antibes) we precisely set panel gaps, verify light fitment, and perfect the finish so you drive away without surprises.
Useful articles on Mario Garage:
Wiring and electronic system diagnostics — complete check of all electronic systems
Suspension and transmission repair — restoring comfort and handling
Brake system repair — maximum safety on the road
Paint and bodywork — professional restoration of the car’s exterior appearance


